
- Recipe Cusine : Indian
- Prep Time : 15 Minutes
- Cook time : 2 Minutes
- Serves : 3-4
- Author : Jeyashri
- Recipe Category : Dessert
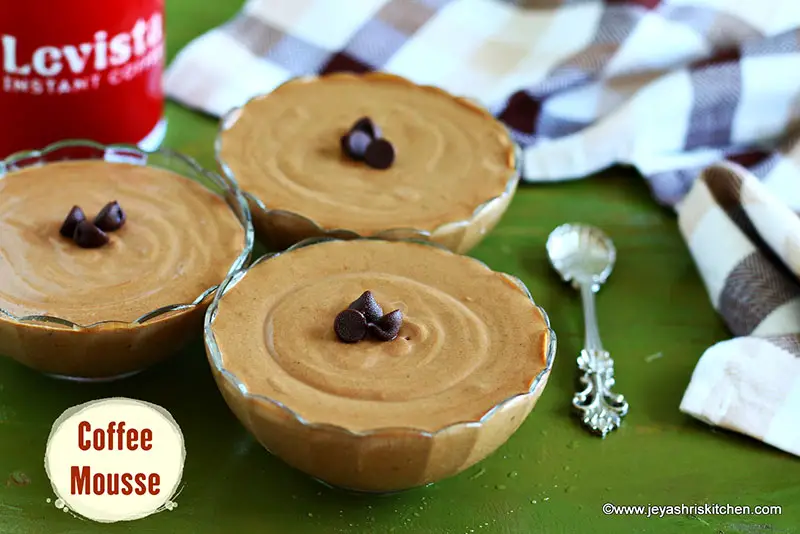
- Description : Coffee mousse recipe | No egg coffee mousse, with full video and step by step pictures, is an easy and delicious dessert made using Cream, chocolate and Instant coffee powder as the main ingredients.
Whipping cream 1 cup (35% fat works best) Milk 1/4 cup Semi Sweet chocolate chips 1/2 cup Levista Instant Coffee powder* 1.5 tblsp Sugar 2 tsp *You can adjust as per your preference. I wanted strong coffee flavour in my mousse.
Method :
- In a wide bowl add the chilled whipping cream. Always it is good to use a cream which has 35% fat when making ice creams or desserts.
- Ensure the cream is chilled nicely.
- also it is good to keep the bowl which you are pour the cream for beating, in the freezer for 2 minutes before beating.
- Beat the cream for few minutes using an electric hand beater.
- Do not over beat, it will become butter. 2-3 minutes in medium speed is fine.
- Once you see the cream whips upto a soft peak, stop beating and keep this in the refrigerator.
- You can add 1 tsp of corn flour to the cream and beat, this will help to hold the peak firmly even at room temperature.
- In a saucepan add the milk and sugar.
- Boil the milk and let the sugar melts in the hot milk.
- In a bowl place the semi sweet chocolate chips.
- Add the Levista Instant coffee powder to this. I wanted to have a strong flavour so added 1.5 tblsp, you can add 1 tblsp too.
- Add the hot milk mixture to this and mix well.
- Let this comes to a smooth consistency.
- Allow this to cool completely.
- Add the chocolate coffee mixture to the whipped cream.
- Fold this well and evenly.
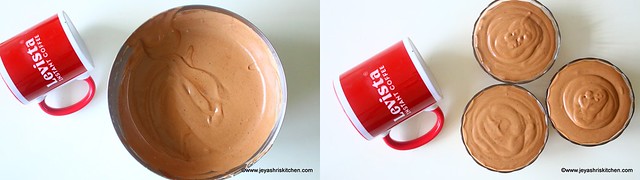
- You can see a smooth texture of the mousse.
- Initially you may feel it is runny, but later after refrigeration it will be perfect.
- Pour the coffee mousse in serving glasses.
- Keep it chilled for 2-3 hours. Do not freeze.
- Take out from the refrigerator just before serving.
- Garnish with chocolate chips or some fresh whipped cream.
- Delicious coffee mousse is ready.
- Ensure not to over beat the cream.
- Adding little corn flour to the cream while whipping, gives a firm consistency to the whipped cream.
- Always keep the coffee mousse in the refrigerator till it is served.
Video of Coffee mousse recipe
Method with step by step pictures :
- In a wide bowl add the chilled whipping cream. Always it is good to use a cream which has 35% fat when making ice creams or desserts.
- Ensure the cream is chilled nicely.
- also it is good to keep the bowl which you are pour the cream for beating, in the freezer for 2 minutes before beating.
- Beat the cream for few minutes using an electric hand beater.
- Do not over beat, it will become butter. 2-3 minutes in medium speed is fine.
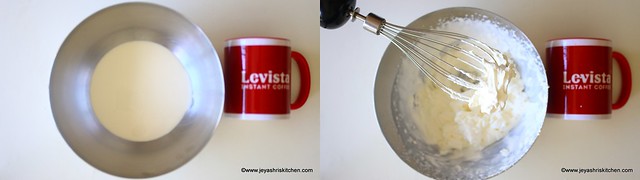
- Once you see the cream whips upto a soft peak, stop beating and keep this in the refrigerator.
- You can add 1 tsp of corn flour to the cream and beat, this will help to hold the peak firmly even at room temperature.
- In a saucepan add the milk and sugar.
- Boil the milk and let the sugar melts in the hot milk.

- In a bowl place the semi sweet chocolate chips.
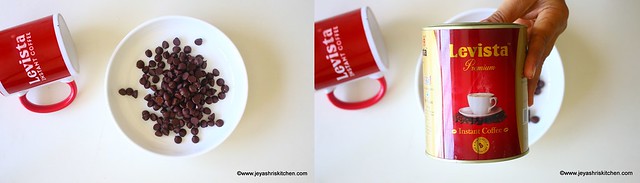
- Add the Levista Instant coffee powder to this. I wanted to have a strong flavour so added 1.5 tblsp, you can add 1 tblsp too.
- Add the hot milk mixture to this and mix well.
- Let this comes to a smooth consistency.

- Allow this to cool completely.
- Add the chocolate coffee mixture to the whipped cream.
- Fold this well and evenly.
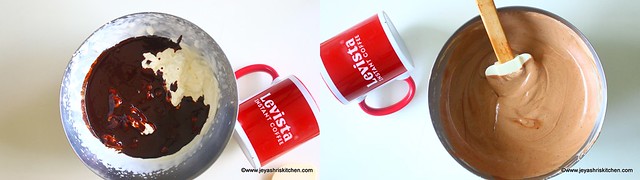
- You can see a smooth texture of the mousse.
- Initially you may feel it is runny, but later after refrigeration it will be perfect.
- Pour the coffee mousse in serving glasses.
- Keep it chilled for 2-3 hours. Do not freeze.
- Take out from the refrigerator just before serving.
- Garnish with chocolate chips or some fresh whipped cream.
- Delicious coffee mousse is ready.
- Ensure not to over beat the cream.
- Adding little corn flour to the cream while whipping, gives a firm consistency to the whipped cream.
- Always keep the coffee mousse in the refrigerator till it is served.
